Writing a children’s book is a magical journey. But turning that manuscript into a fully illustrated picture book is where words truly come alive. For authors, understanding how text transforms into visuals is crucial. This author’s guide to picture book illustration walks you through every stage from the first draft to polished mockups so you can collaborate confidently with illustrators and bring your story to life.
Why Authors Should Understand Illustration
Many authors believe their role ends when the manuscript is complete, but in children’s publishing, text and art are inseparable. Strong children’s book art for authors ensures that illustrations enhance the story rather than simply decorate it. Knowing the manuscript to illustration process allows you to shape the rhythm, pacing, and mood of your book. After all, children don’t just read—they experience stories through images.
Step 1: Shaping Your Manuscript for Visual Storytelling
The first step is to write with visuals in mind. Picture books are often 32 pages long, so your text should fit this format. Break your story into natural “page-turn moments.” Think about where illustrations can expand or even replace words. By leaving room for images, you give illustrators creative freedom and ensure smoother collaboration during the manuscript to illustration process.
Step 2: Creating a Storyboard
A storyboard is like a map. It breaks down the text into spreads (two-page layouts) and shows where major illustrations will appear. For authors, it’s a valuable tool to see the story’s pacing and flow. A well-structured storyboard helps ensure that every turn of the page reveals something fresh and exciting for young readers.
Step 3: Working with an Illustrator
Choosing an illustrator is one of the most exciting steps. Each illustrator brings their own style, whether soft watercolor, bold digital art, or hand-drawn sketches. The key is to find someone whose visual storytelling complements your manuscript. Clear communication ensures that your words and their art blend seamlessly. This collaboration is the heart of children’s book art for authors.
Step 4: Exploring Thumbnails and Rough Sketches
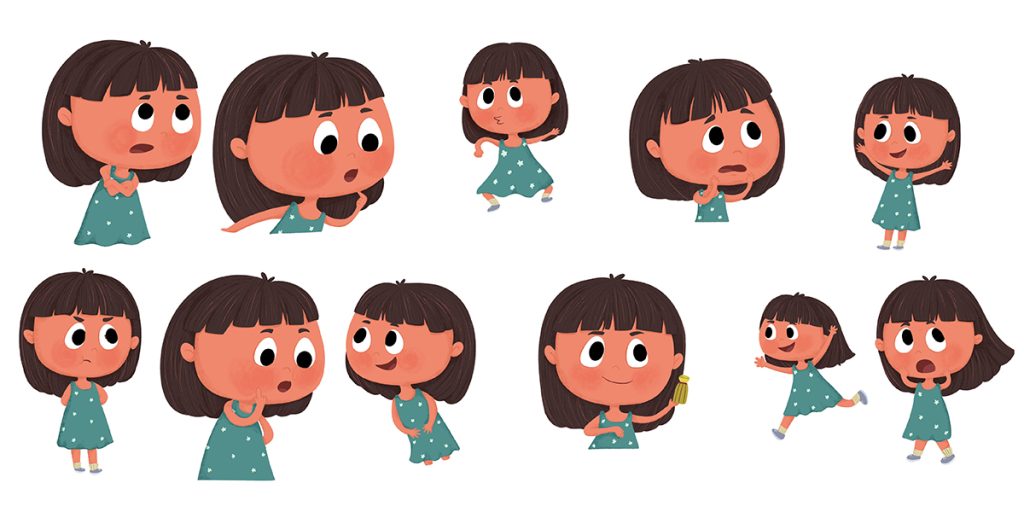
Before diving into full illustrations, most artists begin with thumbnails tiny sketches that outline composition and flow. This stage helps both author and illustrator refine pacing, balance text with visuals, and highlight key story beats. Rough sketches act as the first visual draft of your book, ensuring alignment before colors and details are added.
Step 5: Moving into Mockups
Once sketches are approved, it’s time for mockups for picture books. A mockup is a test version of the book, showing how text and illustrations will look together on actual pages. Mockups reveal issues like cramped text, awkward page breaks, or unbalanced spreads. For authors, reviewing a mockup is essential it’s your chance to see your story in its almost-final form before printing.
Step 6: Refining Pacing and Page Turns
Children’s books rely heavily on pacing. Where you place text, how much action happens in one spread, and what surprises await after a page turn all these elements matter. During the mockup stage, pay special attention to rhythm. A moment of suspense should end just before a page turn, while resolution often comes on a full spread. This is where the manuscript to illustration process truly becomes storytelling magic.
Step 7: Final Artwork and Color
Once the mockup is approved, illustrators bring the art to life with full color and detail. This is the stage where the book feels “real.” From soft pastel tones that create warmth to bright, bold colors that energize the story, every choice influences how children connect with your book. As an author, staying involved ensures the tone matches your original vision.
Step 8: Preparing for Printing and Publication
With the final illustrations complete, the book goes into design and formatting for print or digital release. Layout specialists ensure margins, fonts, and resolutions are correct. Whether you’re self-publishing or working with a traditional publisher, the polished mockup acts as your blueprint, reducing errors before final production.
Also Read:8 Layout Secrets for Strong Page Turns in Children Books
Why Mockups Matter
Mockups are more than drafts—they are the bridge between vision and reality. For authors, reviewing mockups for picture books ensures your story is communicated effectively to young readers. It’s the moment when words and art merge into a cohesive, magical journey. Skipping this step risks losing pacing, balance, or narrative clarity.
Key Takeaways for Authors
Here’s a quick checklist to guide you:
- Write with illustration-friendly text (short, rhythmic sentences).
- Use a storyboard to map pacing and page turns.
- Collaborate closely with your illustrator for alignment.
- Review thumbnails and sketches before approving final art.
- Always examine mockups to catch layout issues early.
- Focus on pacing in spreads to keep readers engaged.
- Ensure illustrations reflect the tone and emotion of your manuscript.
Conclusion
The Rainbow Stories Bringing a children’s book to life is a creative partnership between words and images. As this author’s guide to picture book illustration shows, understanding each step from manuscript to mockups empowers you to make stronger decisions. Whether you’re crafting your first story or expanding your author portfolio, mastering the manuscript to illustration process ensures your book connects with children in the most engaging way possible.
By staying involved in illustration choices and reviewing mockups for picture books, you give your story the best chance to shine not just on the page, but in the hearts of young readers everywhere.


